Welcome to Dave’s corner of useful things!
Here I will give you my tips and tricks of working inside of Maya with the goal of Unity output!
———————————————————————– 10_16_2015
Guy 01
by davidtravaglione
on Sketchfab
———————————————————————– 8_25_2015
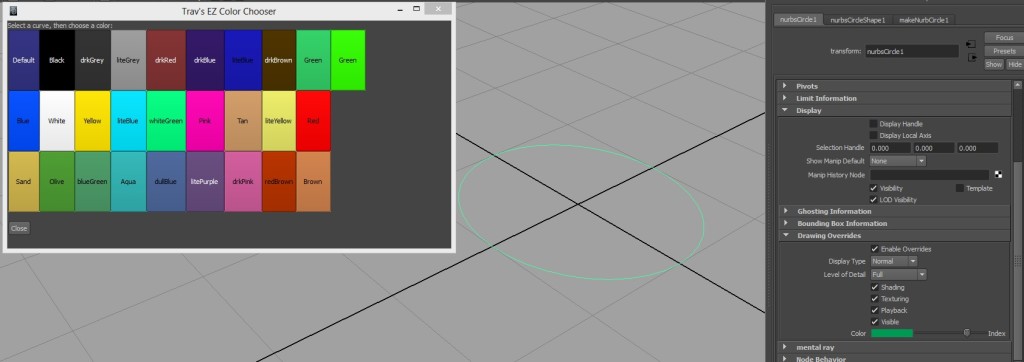
So a common thing in 3d character rigging is color conventions for rig controls. Red is right, left is blue and sometimes yellow is the center. Obvious stuff but for the rigger it can be a total pain to use that little maya integer slider in the display options for changing colors on curves or joints. So I just made some buttons in a window that change that slider to whatever color is on the button you click when the object is selected.
You can download, view it Here)

Run the MEL script in the script editor, or save it into the shelf as a button.
Hopefully this can save you a little time!
———————————————————————– 8_16_2015
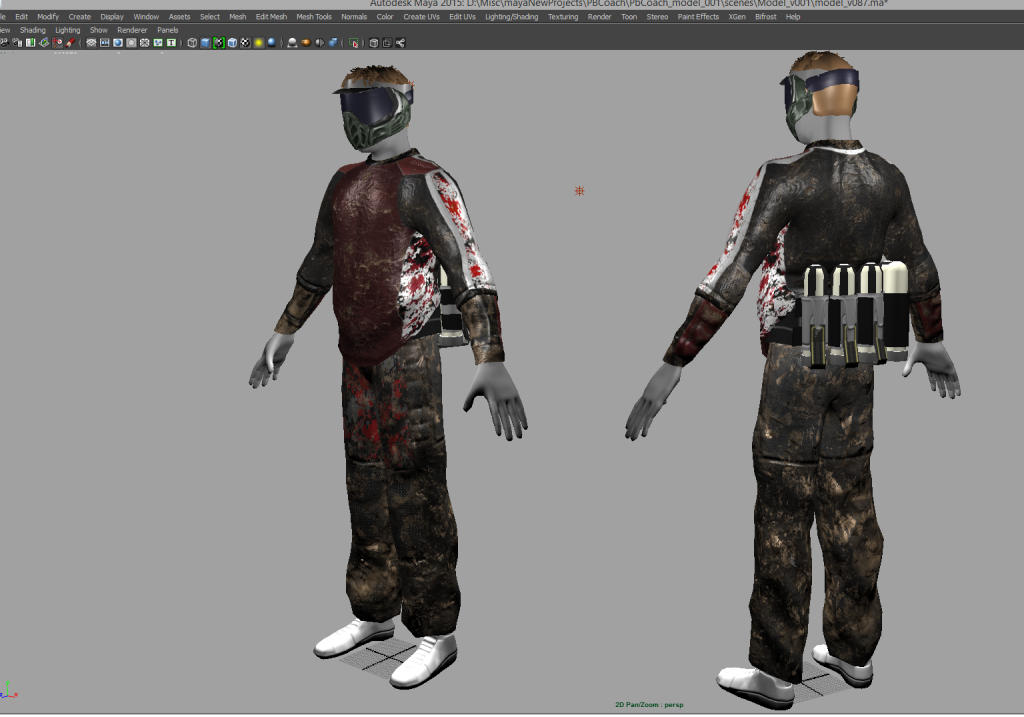
ahh its been a while I must post here more! Here is a fun wip!

also here is a ncloth tree:
———————————————————————– 4_13_2015
corrective blendshapes tutorial I recorded to help some friends!
———————————————————————– 4_17_2015
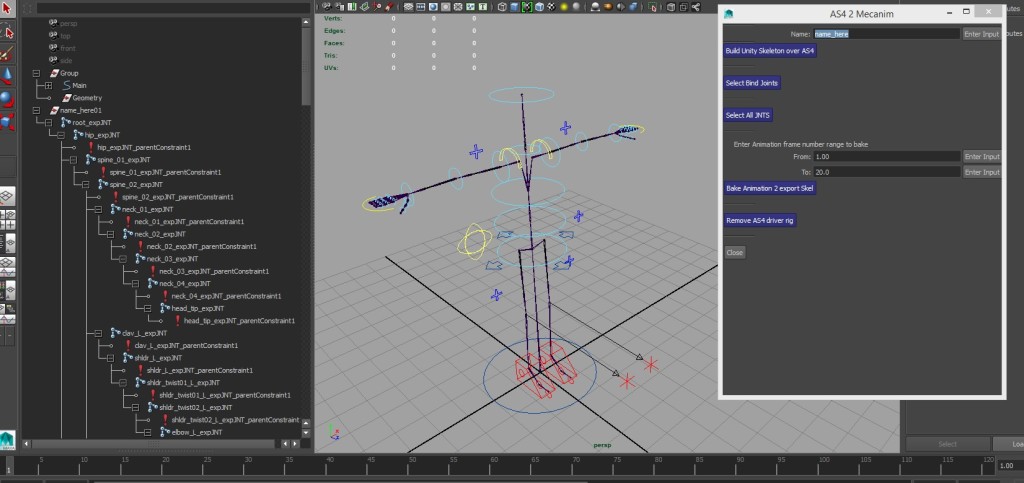
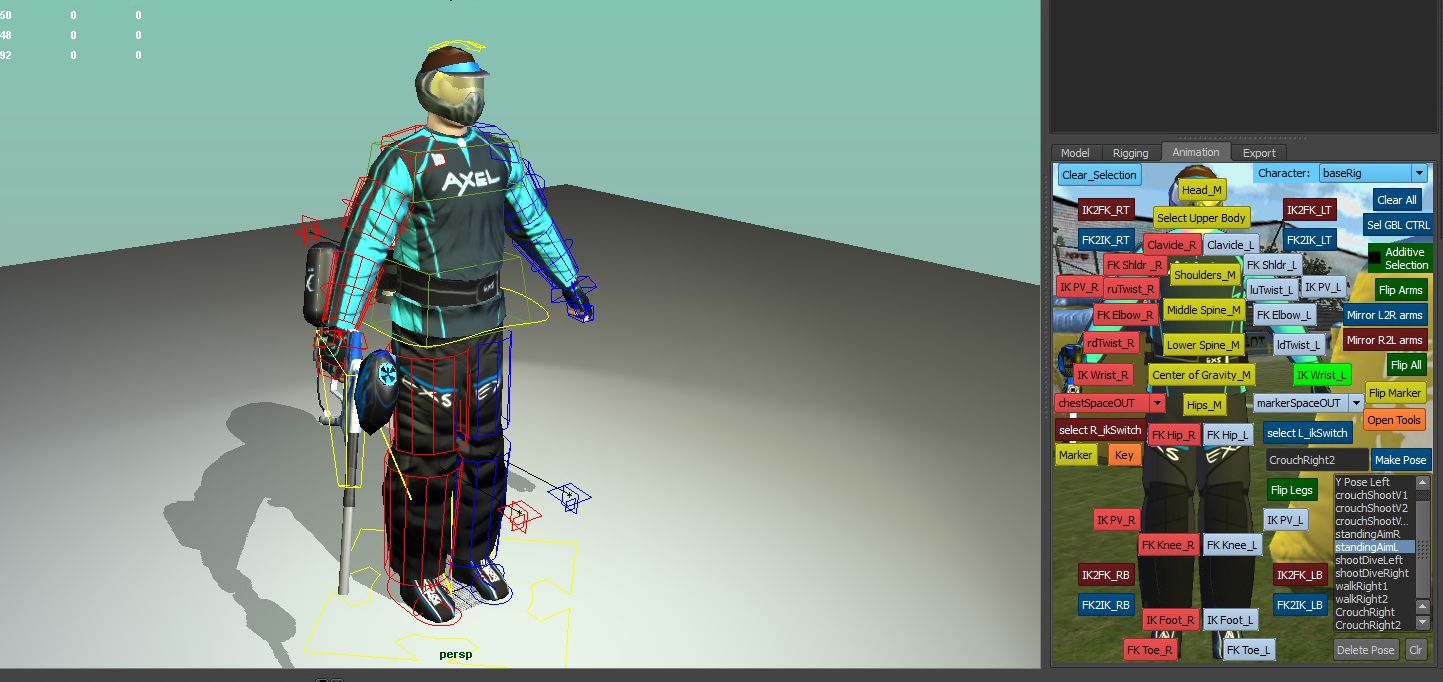
Hey all, so over at school a lot of the guys are using advanced skeleton 4. I have written this little script
to hopefully make advanced skeleton 4 usable for their unity project.
You can download it or view it Here

Basically the idea is that you can use as4 as a driver rig with this tool. It is to be used after an as4 biped body build, no faces.
-First build an as4 rig, but don’t bind to it.
-Run my tool in the script editor or as a button, its mel btw.
-Enter a name for the export skeleton and press “Enter Input” button.
-Press the “Build Unity Skeleton over AS4” button. //basically makes another skeleton and parent constrains to the as4 deformation joints
-Press the select bind joints button. //this step selects the new bind joints the tool made.
-bind as normal to your character mesh.
-after you make an animation (say a 20 frame walk loop for example)
press the “Select all joints” button and enter the frame range numbers into the text fields
and press the “Bake Animation 2 export Skel” button.
-after the script plays through your animation once, press the “Remove AS4 driver rig” button.
What you are left with is a baked skeleton and a mesh that still has all the keyed animation made with the AS4 rig.
export that as an fbx for quick unity exports.
for face animation I keyed alot of blendshapes seperate from this tool, but the good news is now that unity plays the blendshapes from fbx’s so easily theres alot of possibilities for vertex
level animation to be saved into blendshape series like ncloth and stuff besides just faces that i previously thought not possible inside unity without an expensive plugin.
The parent constrains let the key bake process work a little better with as4. Without this tool, baking the deformation skeleton using existing stuff in as4 seems to collapse the character,
especially around the spine and I couldn’t figure out any other way than this for someone using AS4 specifically as a base for a unity character.
AS4 is a great auto rigger available for free online right here:
———————————————————————–
